How to Create Twitter Tab Bar Super Easy in Swift
Tabman library is the key.
Twitter is one of my favorite apps and I check it every single day to find out what's going on in the world. I personally don't watch the news on TV but get information from Twitter.
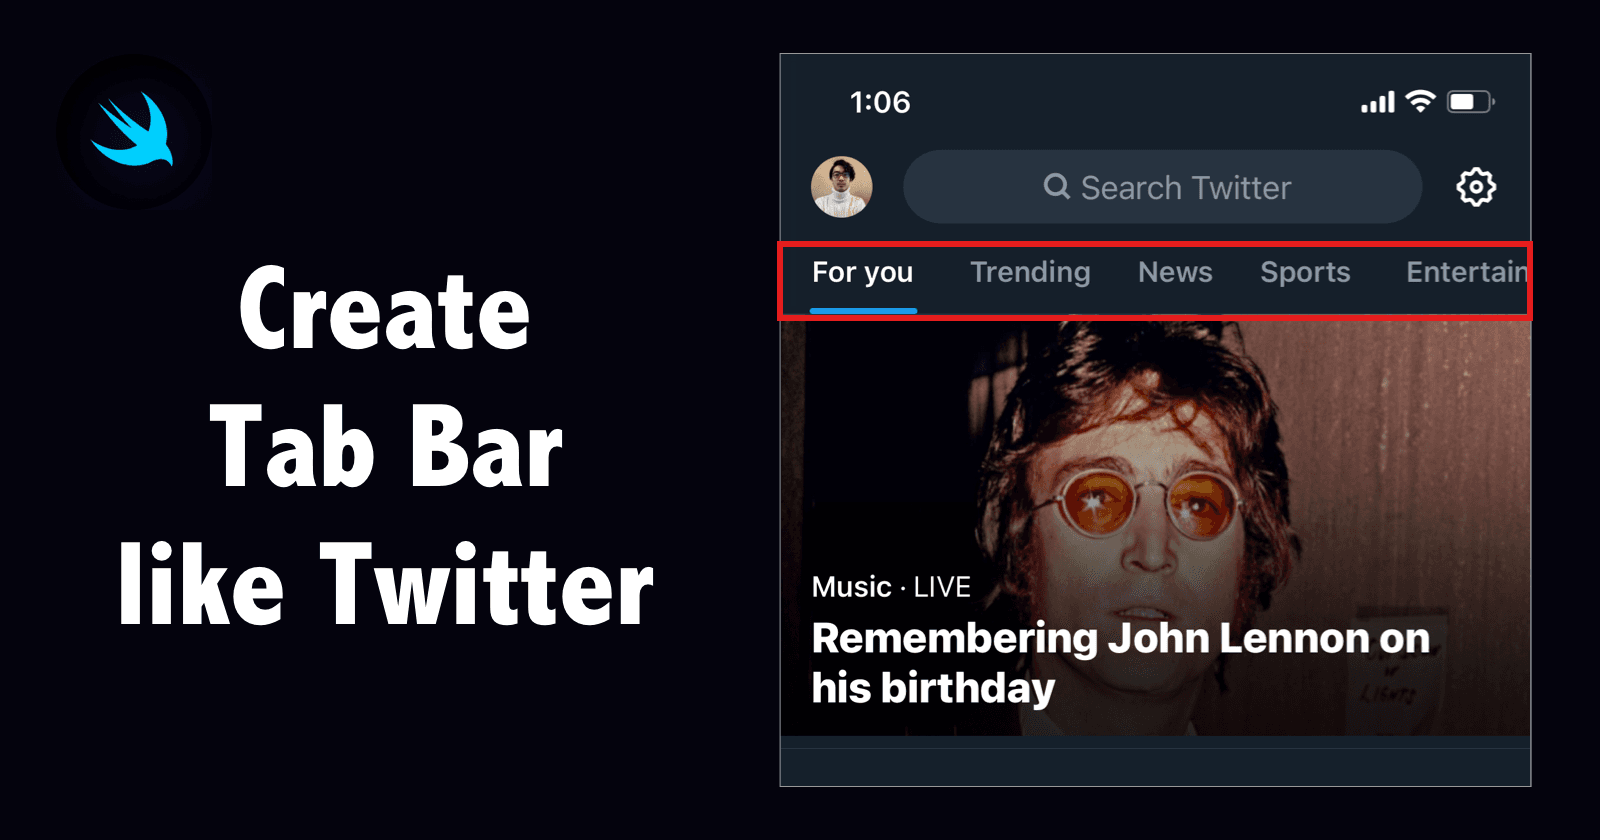
One of the features that I like on Twitter is a search section that leads me to the topic from different categories such as training, sports, news, and even entertainment.
So today, I want to share how to create a cool-looking top tab bar like Twitter with Tabman library. Tabman's repository is here: https://github.com/uias/Tabman
This is what it will look like in the end.
1. Create a project and add Tabman library via Swift Package Manager
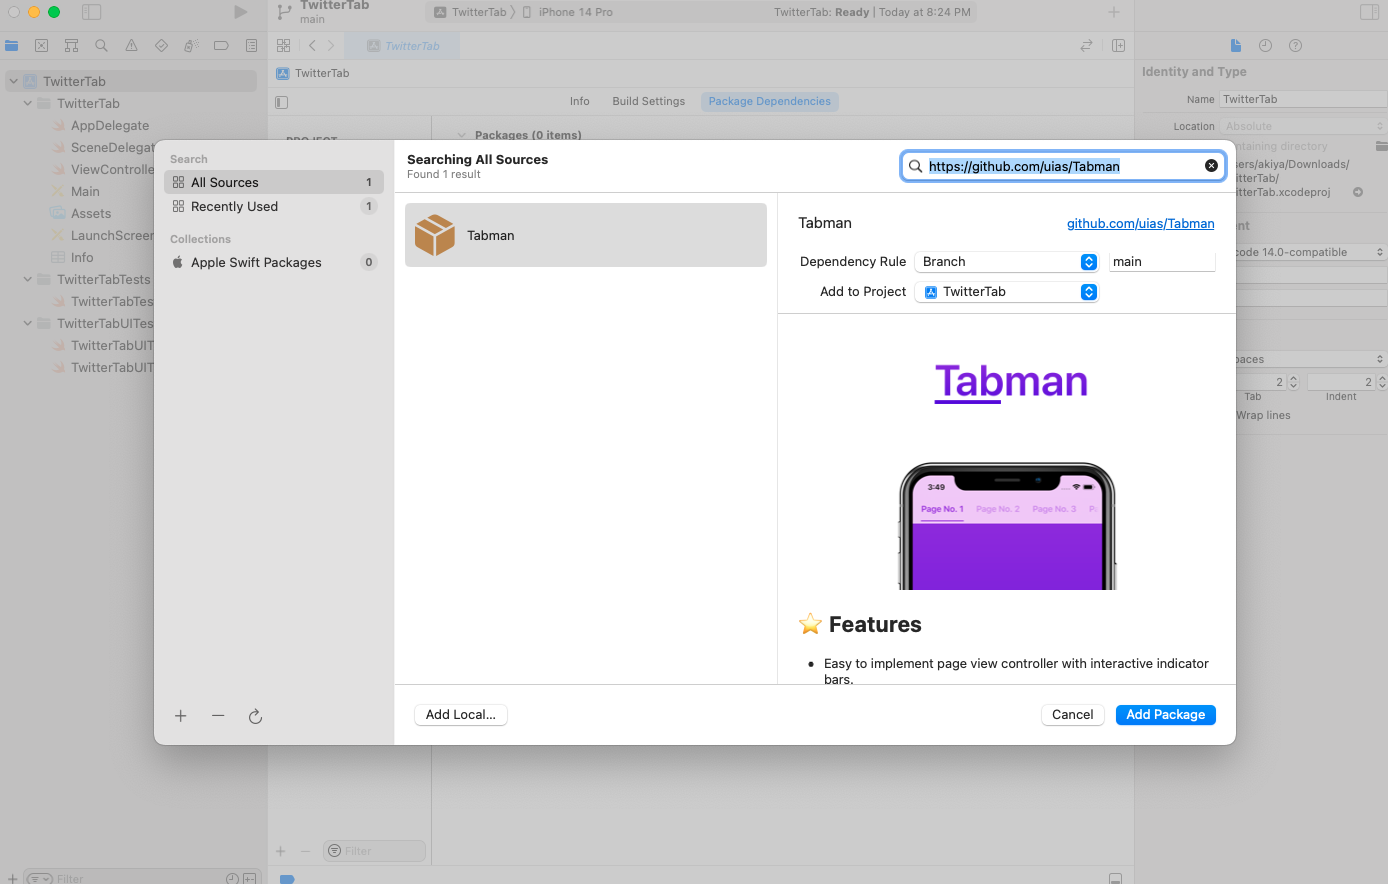
Tabman library has options to install via Cocoapods, Carthage, and Swift Package Manager(SPM). In this post, I will use SPM because it's really simple. Swift Package Manager allows managing third-party libraries by just typing their GitHub repository. Once you create a project, go to project > Package Dependencies and click "+" button. Type https://github.com/uias/Tabman in the search box and click "Add Package".
2. Create a child view for categories.
Twitter currently has 5 categories "For you", "Trending", "News", "Sports", "Entertainment" on the search tab, so let's create an enum object for these categories.
enum Tab: CaseIterable {
  case forYou
  case trending
  case news
  case sports
  case entertainement

  var title: String {
    switch self {
    case .forYou:
      return "For you"
    case .trending:
      return "Trending"
    case .news:
      return "News"
    case .sports:
      return "Sports"
    case .entertainement:
      return "Entertainment"
    }
  }
}
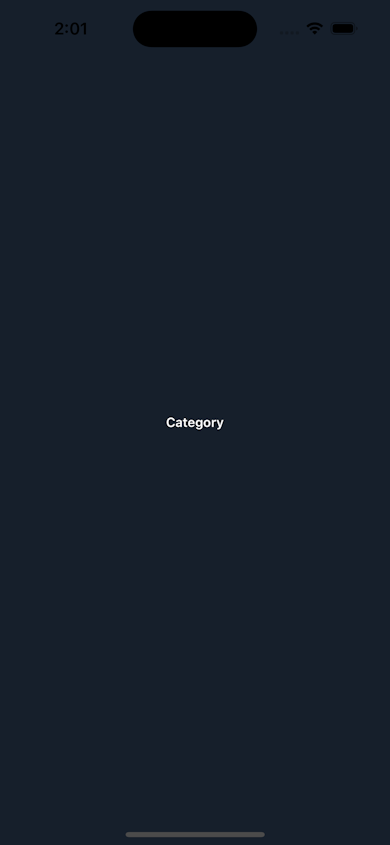
Let's create a view controller which corresponds to each category. I call the VC "CategoryViewController". Once you create it, put a label in the center of the view. This label will be the category name.
import UIKit

class CategoryViewController: UIViewController {

  var tab: Tab? {
    didSet {
      label.text = tab?.title
    }
  }

  let label: UILabel = {
    let label = UILabel()
    label.font = .boldSystemFont(ofSize: 13)
    label.textColor = .white
    labe.text = "Category"
    return label
  }()

  override func viewDidLoad() {
    super.viewDidLoad()
    view.backgroundColor = #colorLiteral(red: 0.0868801102, green: 0.1225979105, blue: 0.1686807573, alpha: 1)
    view.addSubview(label)
    label.translatesAutoresizingMaskIntoConstraints = false
    NSLayoutConstraint.activate([
      label.centerXAnchor.constraint(equalTo: view.centerXAnchor),
      label.centerYAnchor.constraint(equalTo: view.centerYAnchor)
    ])
  }
}
3. Add Tabman code
Now you're ready to add Tabman code. Tabman lets you customize its properties such as the color and size of the font, bottom bar, and space between each tab item. First, let's create a tab bar button and customize its appearance.
let bar = TMBar.ButtonBar()
    bar.layout.contentMode = .intrinsic
    bar.layout.contentInset = UIEdgeInsets(top: 0, left: 20, bottom: 0, right: 20)
    bar.backgroundView.style = .flat(color :#colorLiteral(red: 0.0868801102, green: 0.1225979105, blue: 0.1686807573, alpha: 1))
    bar.indicator.backgroundColor = #colorLiteral(red: 0.09939720482, green: 0.6090072989, blue: 0.9398307204, alpha: 1)
    bar.indicator.weight = .custom(value: 3)
    bar.buttons.customize { button in
      button.selectedFont = .boldSystemFont(ofSize: 15)
      button.font = .boldSystemFont(ofSize: 15)
      button.selectedTintColor = .white
      button.tintColor = .gray
    }
After making the tab bar, add the bar to the top of the view controller and set the PageboyViewControllerDataSource data source.
// ViewController.swift

  override func viewDidLoad() {
    super.viewDidLoad()
    // Create tab bar
    let bar = TMBar.ButtonBar()
    bar.layout.contentMode = .intrinsic
    bar.layout.contentInset = UIEdgeInsets(top: 0, left: 20, bottom: 0, right: 20)
    bar.backgroundView.style = .flat(color :#colorLiteral(red: 0.0868801102, green: 0.1225979105, blue: 0.1686807573, alpha: 1))
    bar.indicator.backgroundColor = #colorLiteral(red: 0.09939720482, green: 0.6090072989, blue: 0.9398307204, alpha: 1)
    bar.indicator.weight = .custom(value: 3)
    bar.buttons.customize { button in
      button.selectedFont = .boldSystemFont(ofSize: 15)
      button.font = .boldSystemFont(ofSize: 15)
      button.selectedTintColor = .white
      button.tintColor = .gray
    }
    // Register datasource
    self.dataSource = self
    // Add bar to the top
    self.addBar(bar, dataSource: self, at: .top)
  }
Make an instance private var tabs = Tab.allCases inside ViewController.swift and add PageboyDatasource and TMBarDataSource protocol to the view controller.
extension ViewController: PageboyViewControllerDataSource {
  func numberOfViewControllers(in pageboyViewController: Pageboy.PageboyViewController) -> Int {
    return tabs.count
  }

  func viewController(for pageboyViewController: Pageboy.PageboyViewController, at index: Pageboy.PageboyViewController.PageIndex) -> UIViewController? {
    let viewController = CategoryViewController()
    viewController.tab = tabs[index] // pass tab value to the CategoryViewController.
    return viewController
  }

  func defaultPage(for pageboyViewController: Pageboy.PageboyViewController) -> Pageboy.PageboyViewController.Page? {
    return nil
  }
}

extension ViewController: TMBarDataSource {
  func barItem(for bar: Tabman.TMBar, at index: Int) -> Tabman.TMBarItemable {
    return TMBarItem(title: tabs[index].title)
  }
}
What I like about Tabman is that it automatically makes inset its child view so that you don't have to worry about the top bar hiding the view. Also, Tabman has been updated frequently, unlike other tab manager libraries.
So that's how you can implement the top tab like Twitter. The animation is a little bit different from Twitter but it's quite similar.
Full source code is available at: https://github.com/akaakoz/twitter_tab
Happy coding and see you soon in the next post.